ObjReader uses a very special
HUD transparent help system to
keep working while reading.
Here is how to create a new topic step by step:
01 - Always use
WordPad to create the initial
RTF file.
02 - Text color must be full white, on a full black background (use the attached
background.rtf template)
03 - Font must be "
Segoe UI Symbol", with a size of 12 for regular text, and 14 for title.
04 - Always use
.PNG images in the RTF text.
05 - Once the topic has been completed you have to save it following these rules:
05.1 - Always prefix the name with a 3 digits number in the range
000 to
099 (maximum 100 distinct topics).
05.2 - Enter the topic name without space and punctuation, use underline to replace spaces between words.
05.3 - You can use one or several
# between the 3 digits number, and the topic name, to indent the text in the index list.
06 - Capture a screen shot of the RTF text to past into PhotoShop.
07 - Select the black background with the "
Magic Wand Tool", with a zero tolerance, no Anti-alias, and Contiguous.
08 - Select "Image" --> "Crop", to get rid of the WordPad interface, and keep only the text section.
09 - Save the new image using the .PNG extension and the same name than for the .RTF file.
10 - Drag the new .PNG file onto the attached
Opacity.exe utility.
11 - That would create a new .PNG file of the same name prefixed with an underscore.
12 - Import this new file into PSD, and apply these layer effects to the text section:
12 - 1
Drop Shadow, Distance 0, Spread 0, Size 5, color black at 75%.
12 - 2
Inner Glow, using full white color.
13 - Select "Canvas Size", and change the width from 817 to 737, using anchor to top.
14 - Select "Canvas Size", and change the width from 737 to 1024, using anchor to top right.
15 - If the screen shot didn't comprise everything, then you will have to renew step 7 to 14 until everything is done.
16 - All the screen shots must be put inside of the same image, enlarging the height to put each capture in good place.
17 - Once everything has been completed save the new .PNG without the underscore, and you are done.
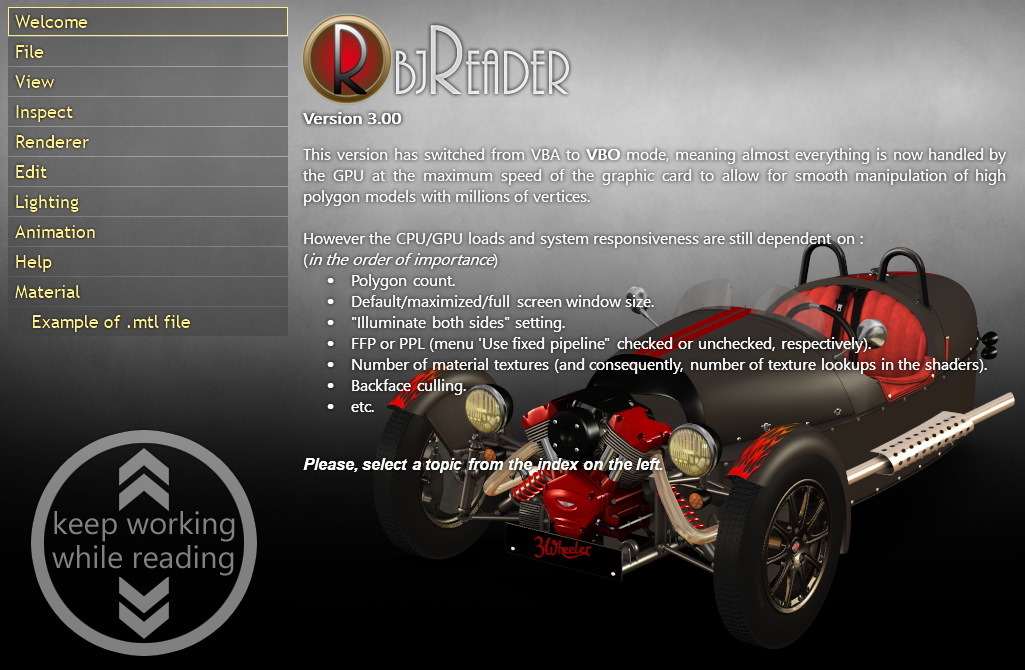
The result should give you something like this, with the 3d model being visible under the transparent help text...